
TRENDING

We’re excited and honoured to feature South Africa’s second largest independent animal welfare organisation on PetlifeSA.
WHAT YOU SHOULD KNOW ABOUT PERFORMING CPR ON DOGS
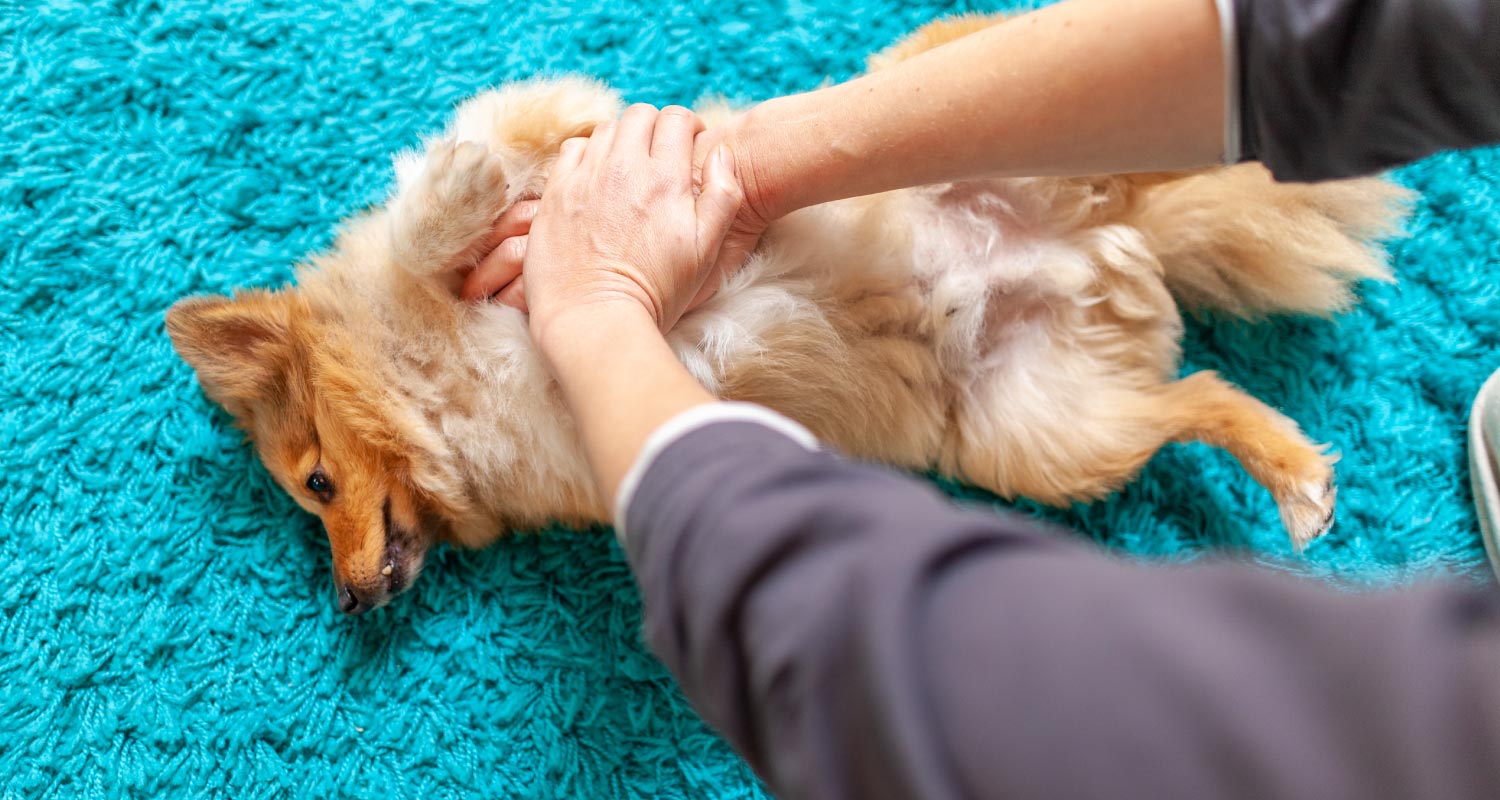
It’s so difficult not to freeze or get frantic when you find your dog in a life-threatening situation.
The best thing you can do, is learn how to help your dog and take action when it’s necessary.
There are two procedures you should know about: artificial respiration and CPR.
First you need to determine which one your dog needs, then follow the steps to help your dog.
HOW TO ACCESS THE SITUATION
- Determine if your dog is breathing by looking at his chest: Is it rising and falling? Also use the back of your hand or cheek to feel for air by their nose. If you can’t detect breathing, look for any blockage in the airway by pulling the tongue out. If you see an object or liquids, remove it.
With your fingers (excluding the thumb), feel the artery located in the inner thigh of the hind leg (almost where the leg joins) for a pulse. Other places to feel: the large centre pad of your dog’s front paw; on top of the heart (left) where the elbow of his leg would touch if bent back.
If your dog is not breathing, but still has a pulse, you should perform artificial respiration (see step 4). If your dog is not breathing and doesn’t have a pulse, perform CPR immediately (Cardiopulmonary Resuscitation). CPR combines artificial respiration with chest compressions.
DON’T PERFORM CPR IF IT’S NOT NECESSARY
HOW TO PERFORM CPR ON A DOG
- Get Your Dog in the Right Position
Choose a flat, stable surface. Lay your dog down on his/her right side. Ensure a clear airway by straightening the head and neck. The tongue should rest against the back of the teeth (if not, pull it forward). Close the mouth. Take your place behind their back.
- Find the Heart to Perform Compressions
Place one palm on top of the other. Near the heart (but not directly over), place hands on the widest part of the rib cage. For dogs under 13.6 kg, place your fingers on one side of the chest, your thumb on the other and cup your hands around the rib cage.
- Start Compressions
Be quick and firm as you press down on the rib cage, while keeping your elbows straight. Only compress 1/4 to 1/3 of the chest width. Repetition should be quick: 15 per 10 seconds. When performing CPR on a smaller dog, squeeze the chest about a 1/4 or 1/3 of its width with your thumb and fingers. Repetition should be quicker here: aim for 17 compressions in 10 seconds.
- Next: Artificial Respiration
Larger Dogs: After every 15 compressions, give your dog artificial respiration. Close the mouth completely and place your hand over the muzzle. With your mouth, blow gently into the nostrils and see if the chest is lifting and expanding. If there’s no movement, blow a little harder and again check that the mouth is completely sealed.
Smaller Dogs: Your mouth should cover the entire muzzle and be removed between breaths administered every 15 seconds.
If two people are present, one can focus on compressions while the other gives artificial respiration after every 5 compressions
For artificial respiration only: seal your dog’s mouth and, at a steady pace of 20 to 30 breaths per minute, administer one breath every two to three seconds.
- Proceed to an Abdominal Squeeze
To help blood circulate to the heart, push down and squeeze the abdomen like this: left hand under your dog’s abdomen and right hand on top. One abdominal squeeze per 15 compressions and one breath.
- And Repeat
If your dog starts to breathe and regains a steady pulse you can stop, otherwise continue. After 20 minutes, if there’s no response, you should think about stopping the treatment. Success after this point is not likely.
BE CAREFUL WHEN PERFORMING CPR
When performed with too much strength, CPR can cause broken ribs or a collapsed lung, leading to more body stress. Still, these cases are usually treatable and it may be better to complete the procedure and treat the possible injuries as soon as possible.
WHAT YOU CAN DO TODAY
While your dog is still healthy, look for the heart and pulse, but stop there. If you’re struggling, ask your veterinarian for assistance at your dog’s next checkup. Also ask about best practice for your dog’s breed, size and weight.
CLASSES AND TRAINING
Contact your veterinarian for recommendations if you want further first aid training or want to take a dog CPR class.
NOTE: Never perform CPR if it’s not necessary.
Share this information with friends, family, pet sitters and other pet owners.
The information contained in this article and website is not intended, nor implied to be a substitute for professional safety advice; it is provided for educational purposes only.
Related Articles
